Embarking on an interior painting project can feel like a daunting task. However, with the right knowledge and preparation, you can transform your living space into a vibrant and welcoming home. Let Justin's Quality Painting LLC's contractors walk you through the essential steps, from selecting the perfect colors to achieving a flawless finish.
Planning Your Interior Painting Project
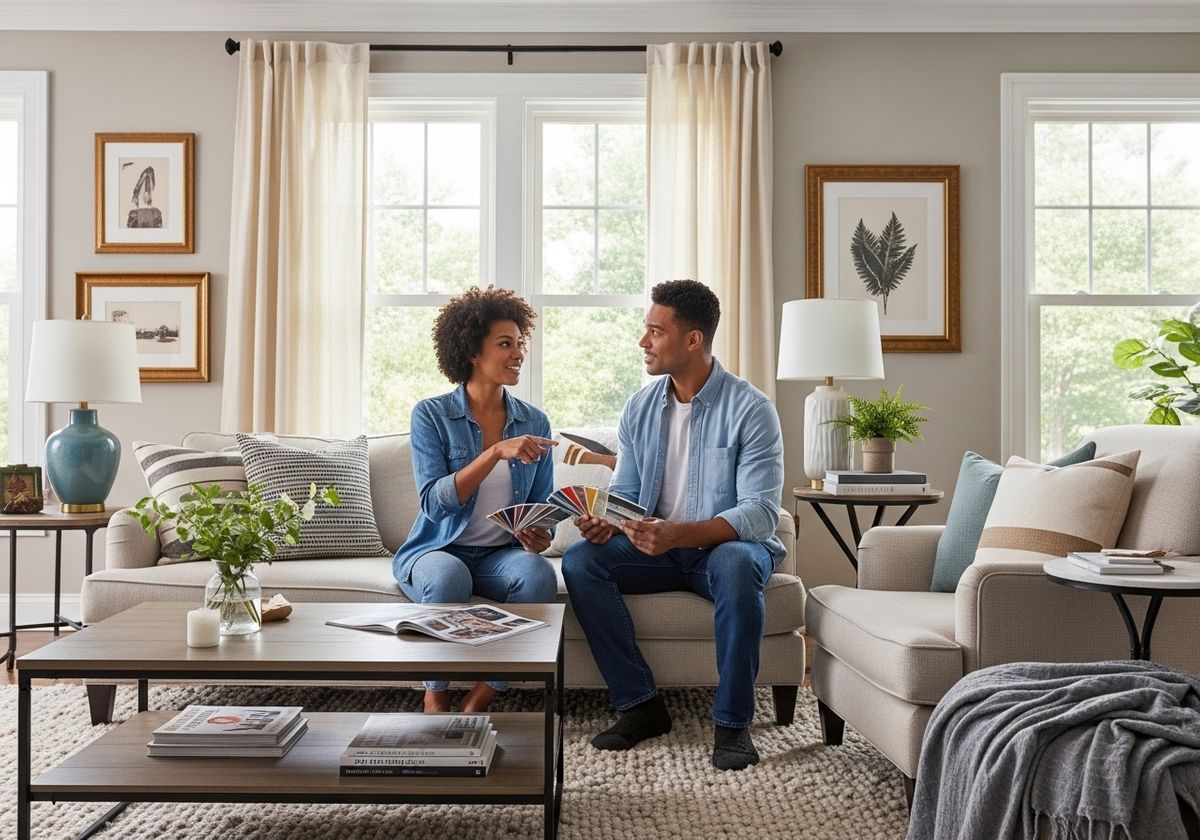
Before you even think about picking up a brush, careful planning is key. Start by assessing the rooms you want to paint. Consider the existing décor, lighting, and the overall mood you want to create. Gather inspiration from magazines, websites, and social media to help you visualize the possibilities. Don't forget to factor in the size of the room, as larger spaces can handle bolder colors, while smaller rooms may benefit from lighter, more neutral tones.
Choosing the Right Paint and Supplies
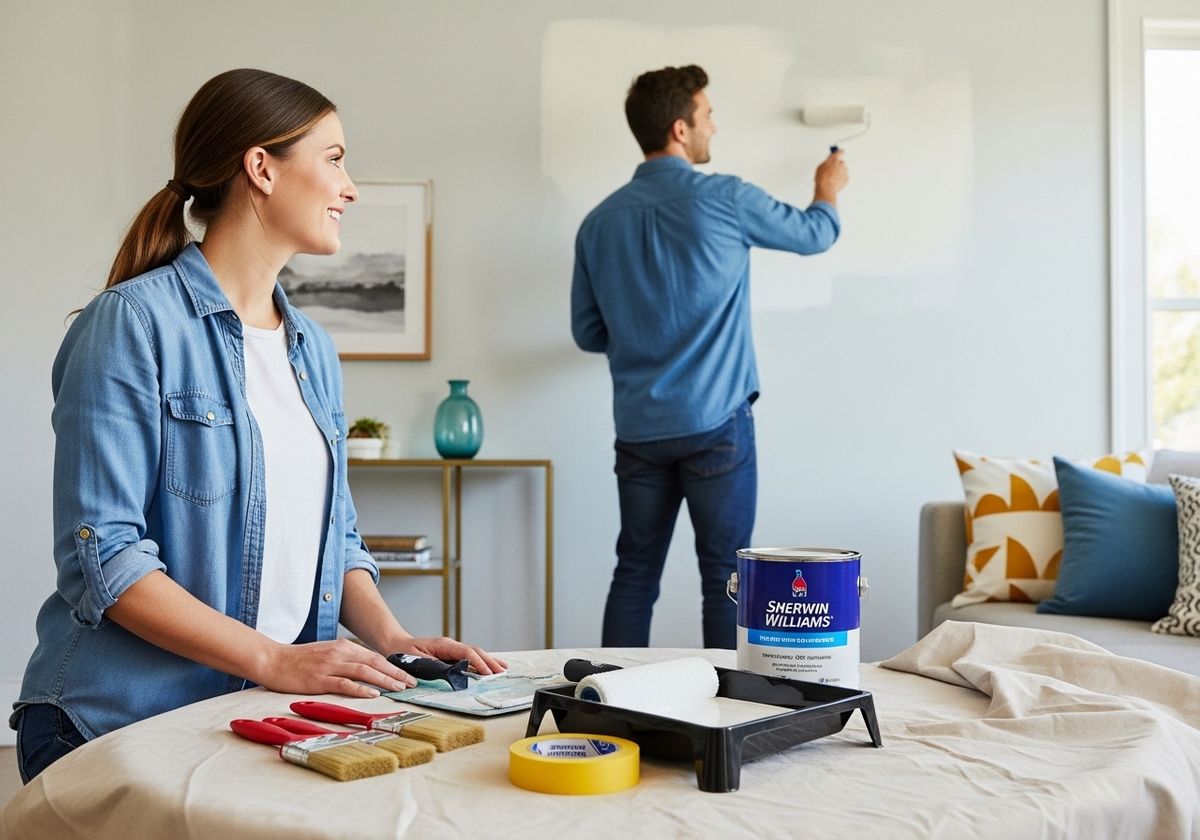
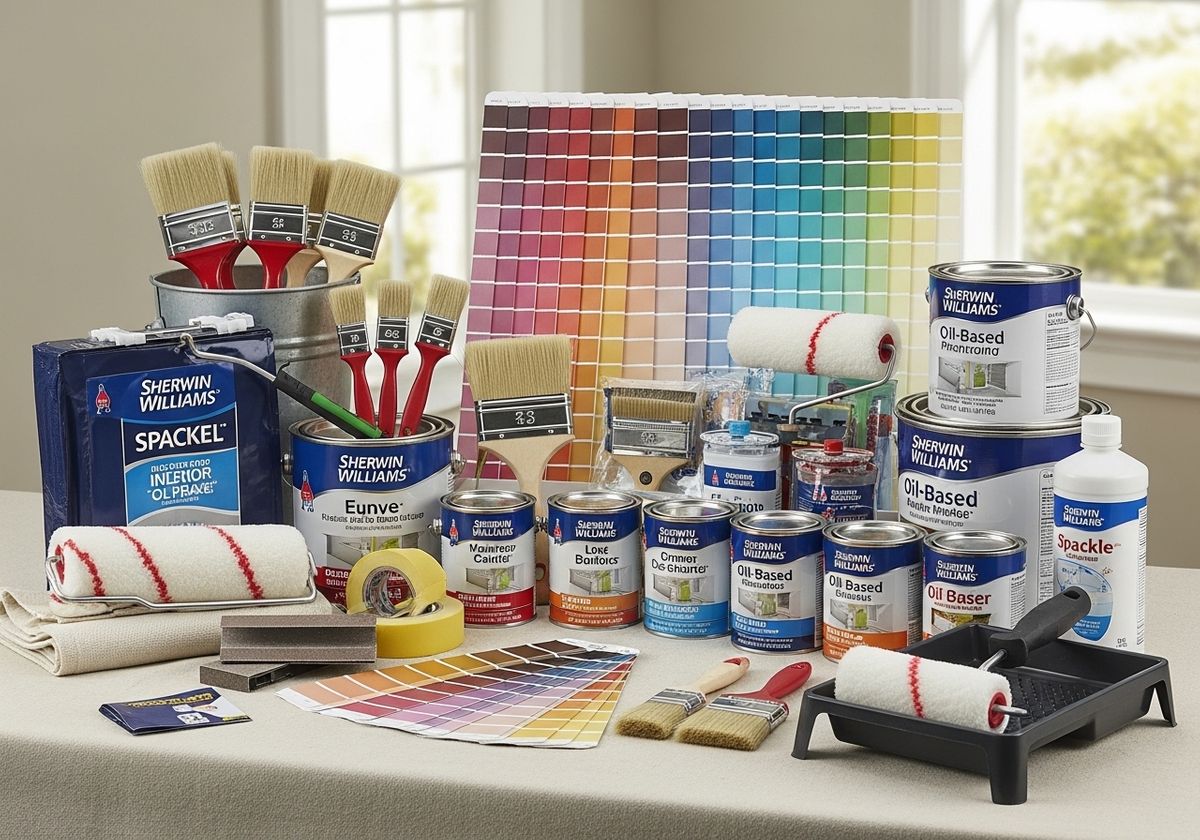
Selecting high-quality paint is crucial for a long-lasting and beautiful finish. There are several types of paint available, each with its own unique properties. Latex paints are water-based, easy to clean, and low in VOCs, making them a popular choice for interior walls. Oil-based paints offer excellent durability and a smooth finish, but require more effort to clean and have higher VOCs. Consider using Sherwin-Williams products, as they are known for their quality and extensive color options and are what our painting contractors use.
In addition to paint, you'll need a variety of supplies, including:
Paintbrushes: Choose high-quality brushes in various sizes for different areas.
Rollers: Use rollers for large, flat surfaces like walls and ceilings.
Paint trays: To hold paint and easily load your brushes and rollers.
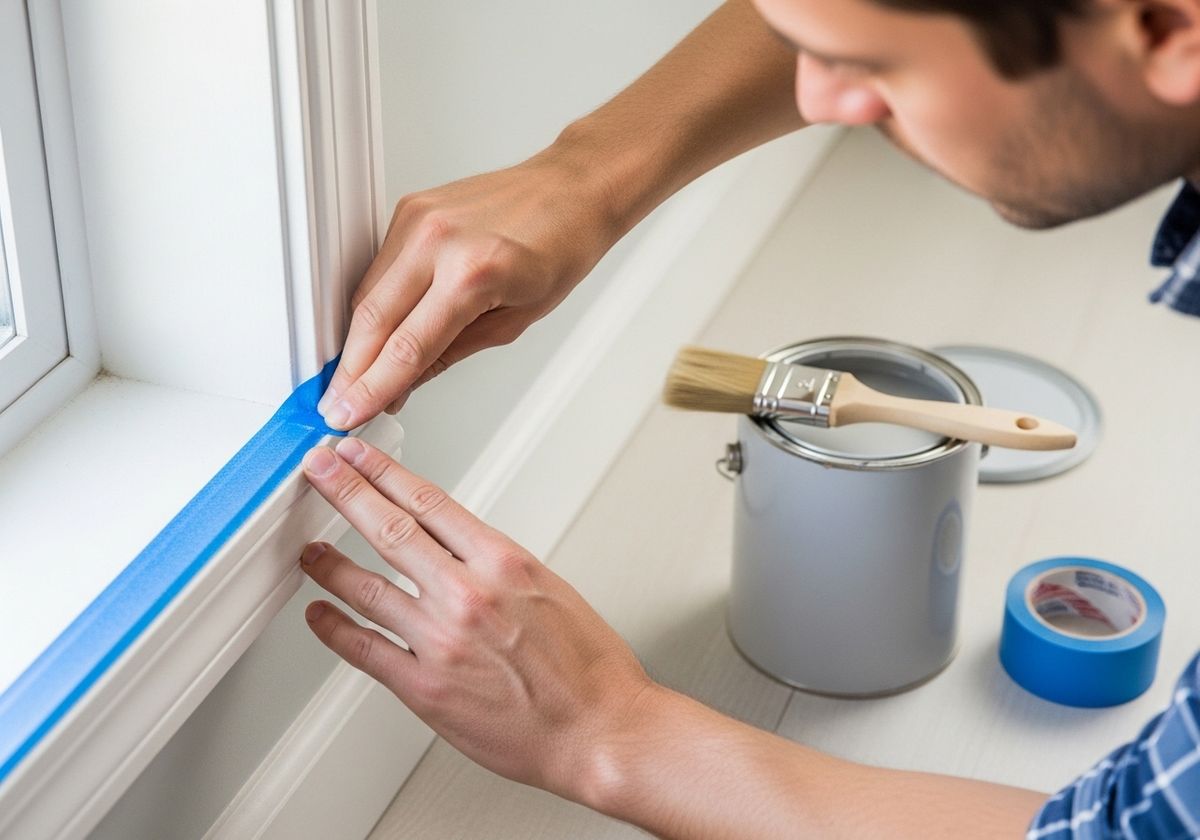
Painter's tape: To protect trim, windows, and other surfaces from paint.
Drop cloths: To protect your floors and furniture from spills and splatters.
Sandpaper: For smoothing out imperfections on the walls.
Spackle or joint compound: For filling holes and cracks.
Primer: To prepare the walls for paint and improve adhesion.
Preparing the Room for Painting
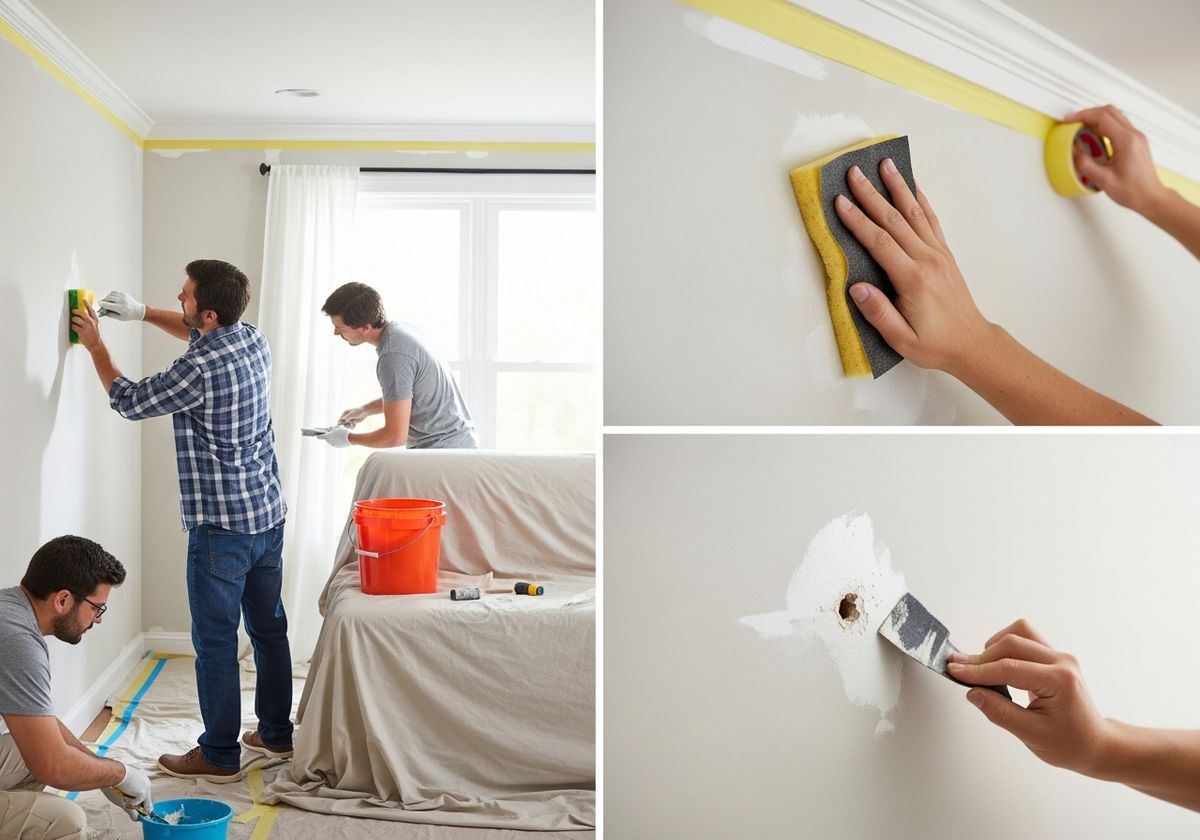
Proper preparation is essential for achieving a professional-looking paint job. Start by removing all furniture from the room or covering it with drop cloths. Remove any wall hangings, light fixtures, and outlet covers. Clean the walls thoroughly with soap and water to remove any dirt, dust, or grease. Use sandpaper to smooth out any rough patches or imperfections. Fill any holes or cracks with spackle or joint compound and let it dry completely before sanding it smooth. Apply painter's tape to the edges of trim, windows, and ceilings to create a clean line.
Painting Techniques for a Professional Finish
Once the room is prepped, it's time to start painting! Begin by applying a coat of primer to the walls. Primer helps to create a smooth, even surface for the paint to adhere to. Let the primer dry completely before applying the first coat of paint. Use a brush to "cut in" along the edges of the walls, trim, and ceiling. Then, use a roller to fill in the rest of the wall. Apply thin, even coats of paint, overlapping each stroke slightly. Let the first coat dry completely before applying a second coat. Remove the painter's tape while the paint is still slightly wet to prevent it from peeling off the wall.
Adding the Finishing Touches
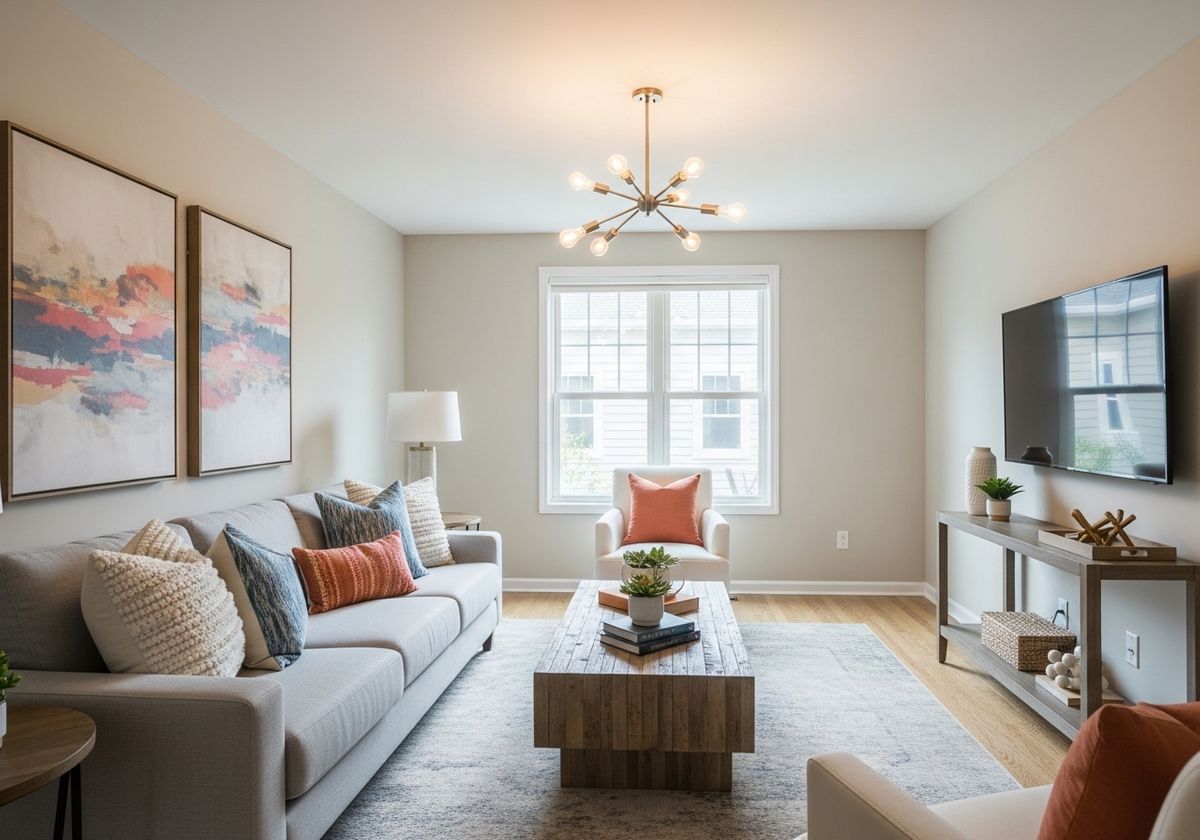
After the paint has dried completely, it's time to add the finishing touches. Replace any wall hangings, light fixtures, and outlet covers. Clean up any spills or splatters. Rearrange the furniture and enjoy your newly painted room!
Transforming your home with interior painting can be a rewarding experience. Careful planning, quality materials, and attention to detail are essential for achieving professional results. If you're looking for guaranteed, detail-oriented results while painting a house interior or any exterior painting project, consider Justin's Quality Painting LLC. Learn more about us now!